
System requirements:
Laptop : Windows
Processor:
RAM: minimum 8 GB
Storage: minimum 50 GB
a) OEL 9 – as OS for the sandbox
b) Sandbox – database server (2 GB RAM)
1 Install Oracle virtual box – Virtualbox
2 Install Vagrant – vagrant
3 Install putty – putty
Once you have completed the software installation defined , follow these steps to create your Vagrant configuration files and prepare the machines for startup.
A. Create your Project Directory
Create a new directory on your Windows machine where you want to store your sandbox files.
- Example path:
D:\sandboxes\postgres\sandbox
B. Open the Directory in Terminal
Navigate to the folder you just created, right-click the folder name (sandbox
Example terminal prompt: PS D:\sandboxes\postgres\sandbox>
C. Initialize Vagrant
Execute the following command to generate the initial configuration file:
vagrant initexpand_for_screenshot (Vagrant init and copy to config.yaml)
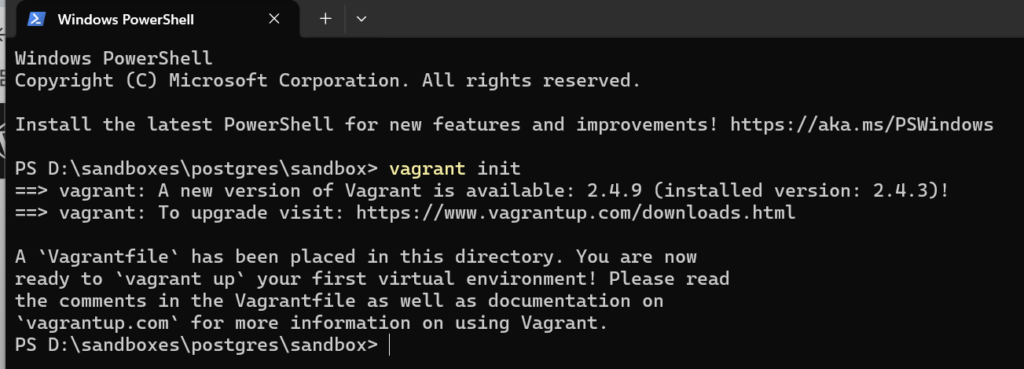
expand_for_code (file to be edited in notepad / notepad++ )
Vagrantfile
# -*- mode: ruby -*-
# vi: set ft=ruby :

# --- Configuration Data ---
# Merged directly into the script for single-file portability
conf = {
  'shared' => {
    'box' => "oraclebase/oracle-9"
  },
  'nodes' => [
    { 'name' => 'sandbox',    'ip' => '192.168.56.150', 'mem' => 2048, 'cpu' => 2 },
  ]
}

Vagrant.configure("2") do |config|
  # Loop through each node defined in the Hash above
  conf['nodes'].each do |node|
    config.vm.define node['name'] do |node_config|

      node_config.vm.box = conf['shared']['box']
      node_config.vm.hostname = node['name']
      node_config.vm.network "private_network", ip: node['ip']

      node_config.vm.provider "virtualbox" do |vb|
        vb.name   = node['name']
        vb.memory = node['mem']
        vb.cpus   = node['cpu']

        # Recommended for OEL9: Ensure high-resolution timers and IO APIC are enabled
        vb.customize ["modifyvm", :id, "--ioapic", "on"]
      end

      # Optional: Add a provisioner if you want to automate the pg_bindir fix
      # node_config.vm.provision "shell", inline: "echo 'Postgres nodes ready!'"
    end
  end
endReplace the content of Vagrantfile with above.
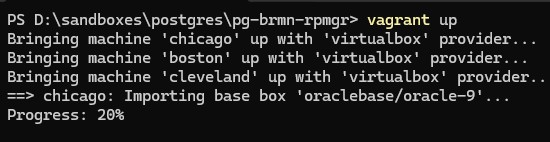
execute the command “vagrant up” in your power shell command line –
vagrant upexpand_for_screenshot_reference
vagrant up
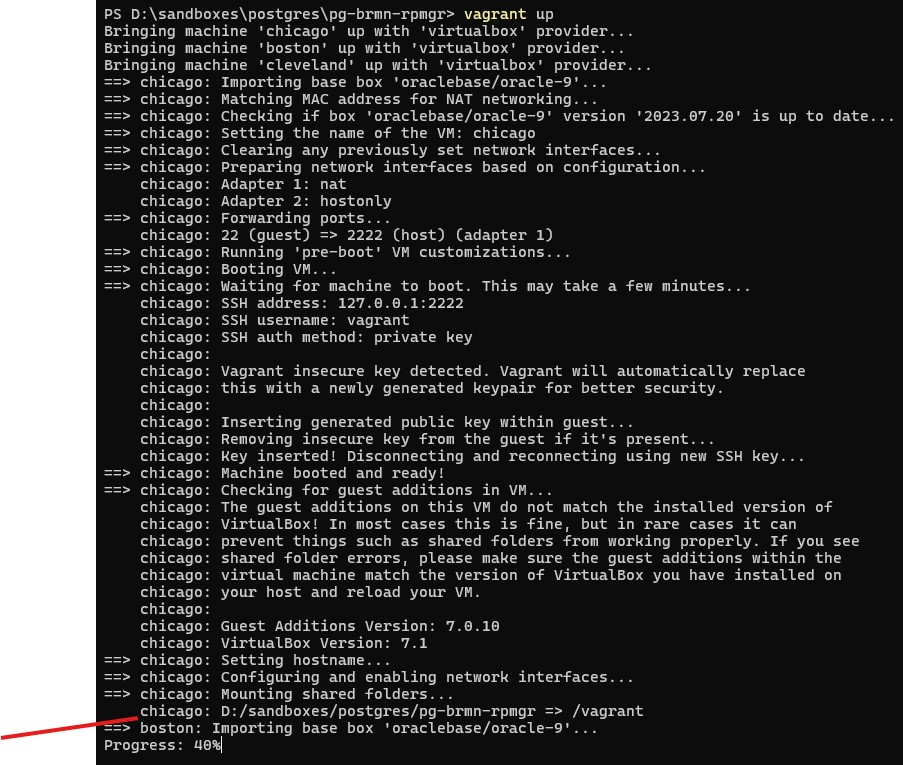
In putty session , save the session with appropriate IP addresses and hostnames accordingly
session_name: sandbox, ip => 192.168.56.150
username: vagrant
password: vagrant
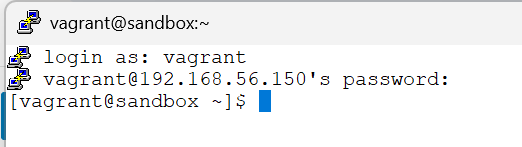
Congratulations. The Sandbox for the Hands on Lab is successfully configured.
as vagrant user, perform all below actions
# Add postgresql RPM repository - approx time 05 mins for installation
sudo dnf install -y https://download.postgresql.org/pub/repos/yum/reporpms/EL-9-x86_64/pgdg-redhat-repo-latest.noarch.rpm# Disable the default PostgreSQL Application Stream module
sudo dnf -qy module disable postgresql# Install PostgreSQL 16 server and useful extras
sudo dnf install -y postgresql16-server postgresql16-contrib postgresql16# Force the SSH client to match the new libraries
sudo dnf reinstall openssh-clients openssh-server -y
sudo dnf update openssh-clients openssh-server -ywe will create a cluster database named as “onboarding“
# Initialize the database cluster
sudo mkdir -p /var/lib/pgsql/16/onboarding
sudo chown postgres:postgres /var/lib/pgsql/16/onboarding
sudo chmod 700 /var/lib/pgsql/16/onboarding
sudo -u postgres /usr/pgsql-16/bin/initdb -D /var/lib/pgsql/16/onboardingwe will switch to the system’s postgres user and access the database using the psql utility.
# switch to postgres user
sudo -i -u postgres# Start the Cluster onboarding
/usr/pgsql-16/bin/pg_ctl \
-D /var/lib/pgsql/16/onboarding \
-l /var/lib/pgsql/16/onboarding/server.log \
start# login to database
psql -p 5432 Congratulations:
You have completed a sandbox cluster named – onboarding
Source database name is onboarding cluster running in port 5432.