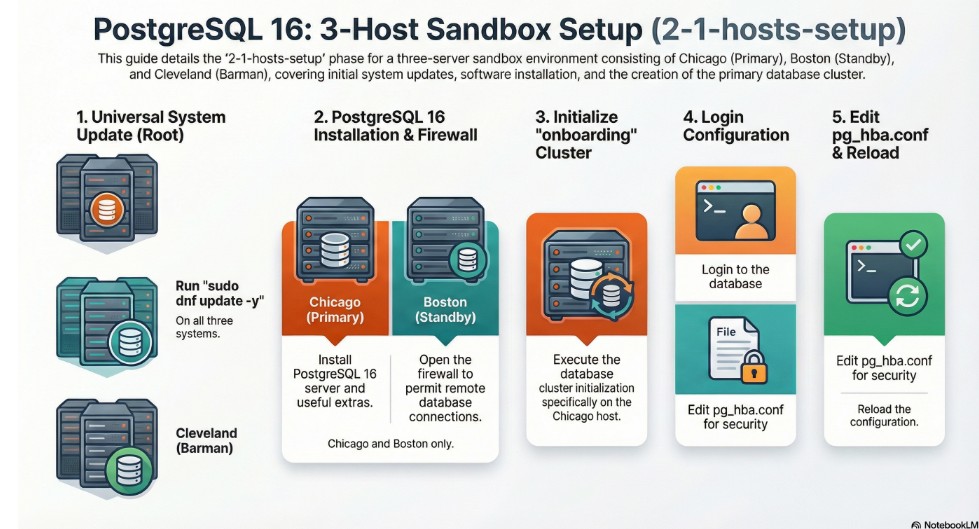
2.1.1 Update the systems
Execute the below commands on all the 3 hosts in unix- chicago, boston, cleveland
switch to root user after logging in as vagrant user
sudo su - rootUpdate the system with latest packages
sudo dnf update -yexpand_for_screenshot_reference
dnf update -y

It takes approximately 40 minutes to update the packages and kernel. Please be patient.
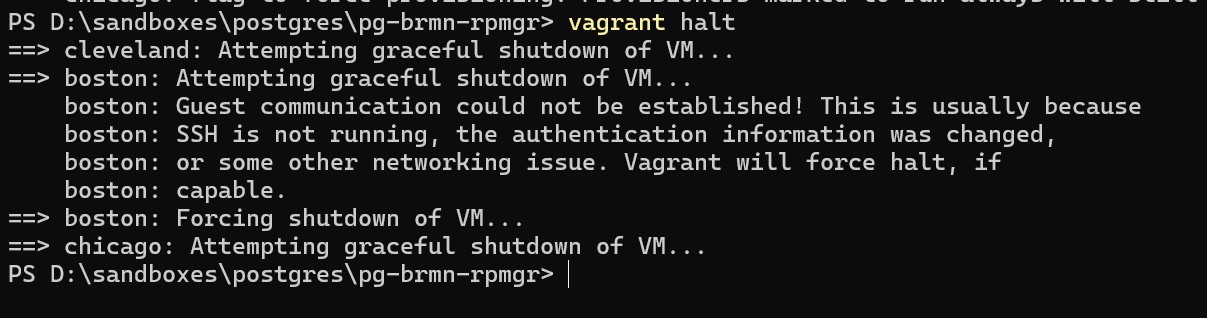
Once the dnf updates are done, lets do clean restart of all 3 machines
in powershell prompt : (right click the directory where the vagrant config file exists – and open in terminal)
example: PS D:\sandboxes\postgres\pg-brmn-rpmgr>
vagrant haltexpand_for_screenshot_reference
vagrant halt — execute this command in windows powershell
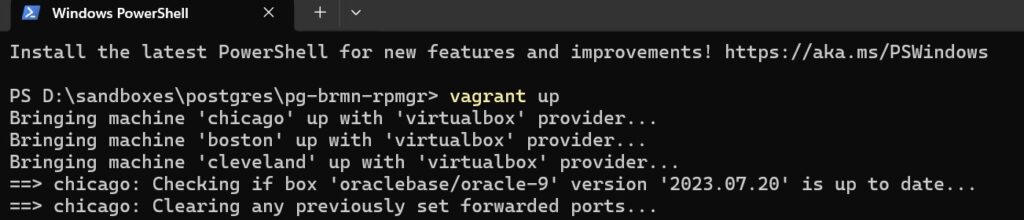
Bring up the machines, by executing command in power shell prompt.
vagrant upexpand_for_screenshot_reference
vagrant up — execute this powershell prompt
Shutdown the Cleveland machine, as we will use it in chapter 5 – for barman installation –
execute this in power shell prompt
vagrant halt clevelandexpand_for_screenshot_reference

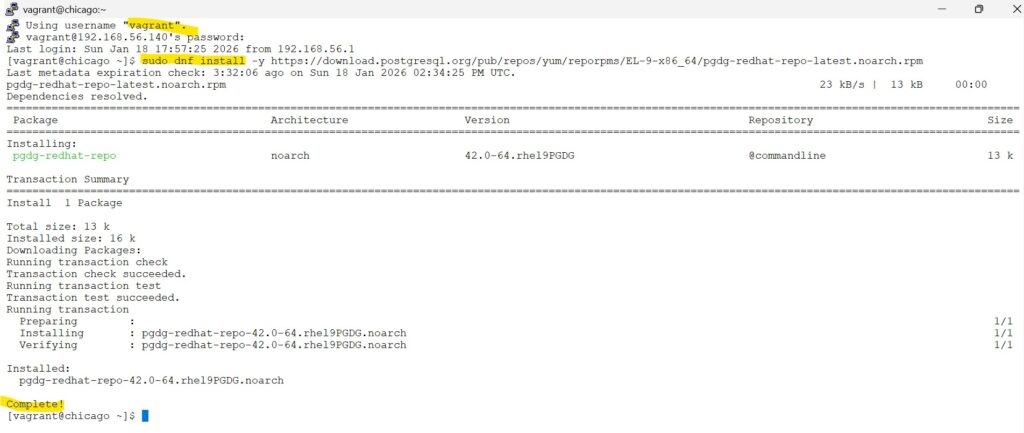
2.1.2 Add postgresql RPM repository
Only on the chicago and boston hosts (not on the cleveland host)
lets add the postgresql repositories
from putty login as
user : vagrant ,
passwd : vagrant
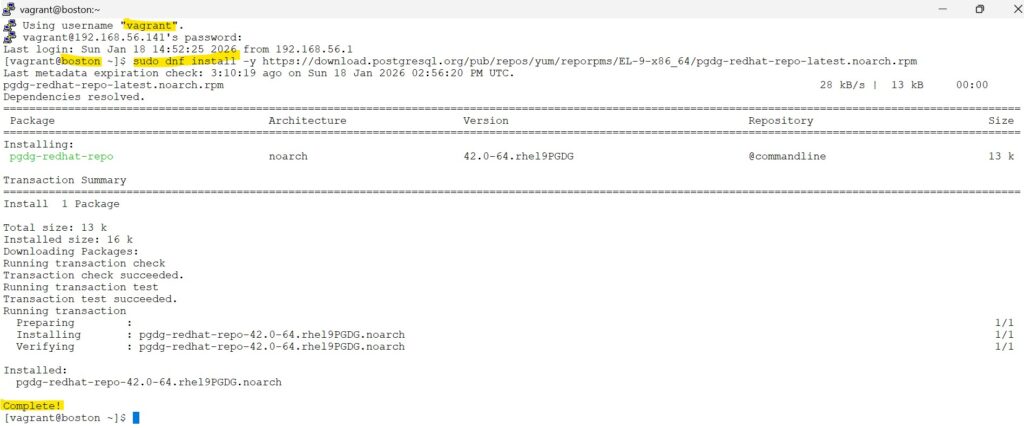
sudo dnf install -y https://download.postgresql.org/pub/repos/yum/reporpms/EL-9-x86_64/pgdg-redhat-repo-latest.noarch.rpm
expand_for_screenshot_reference
dnf install as vagrant user
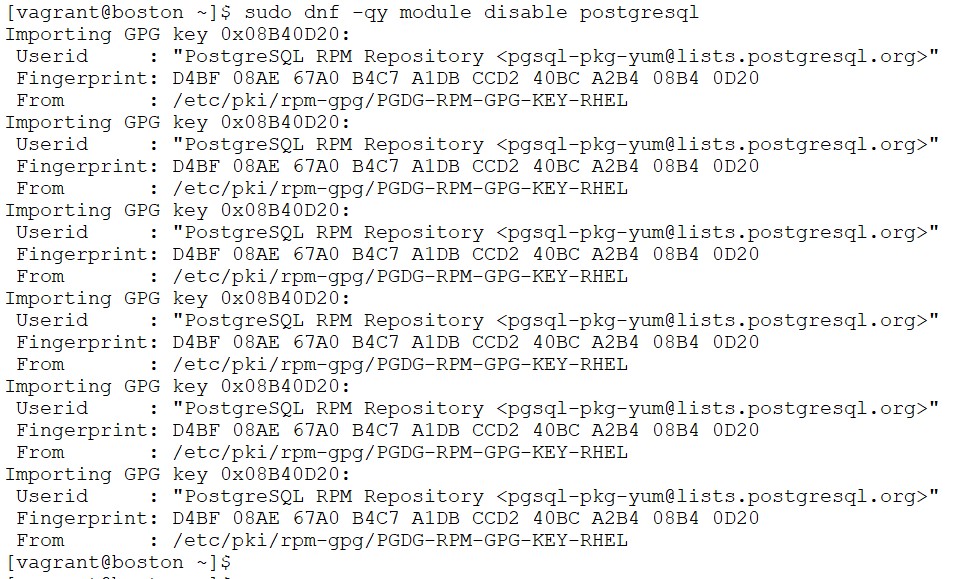
2.1.3 Disable the default PostgreSQL Application Stream module
execute the below commands only in chicago and boston servers
This command ensures the OS ignores its own older PostgreSQL version so we can install the specific community release we need
sudo dnf -qy module disable postgresqlexpand_for_screenshot_reference

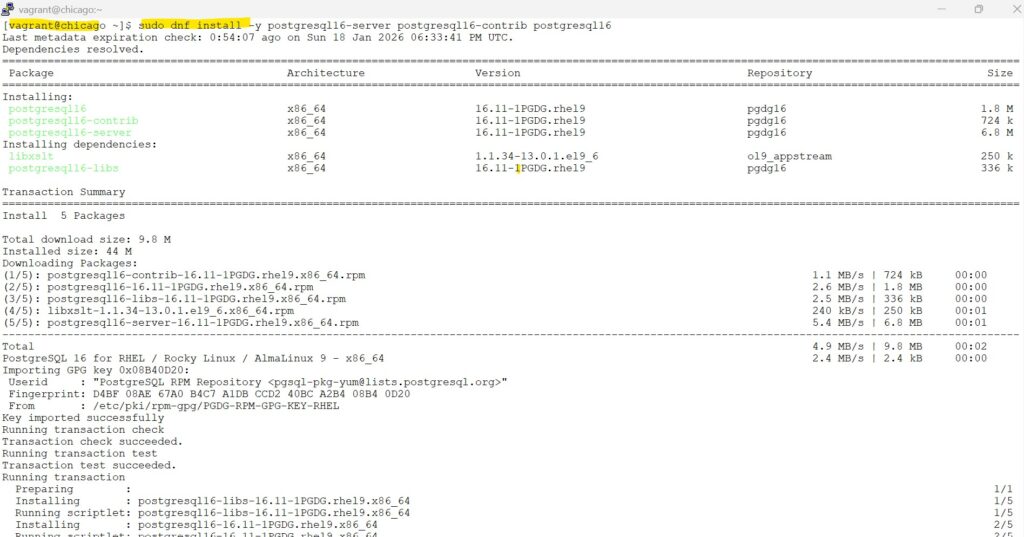
2.1.4 Install PostgreSQL 16 server and useful extras
execute the commands as vagrant user in both chicago and boston servers
sudo dnf install -y postgresql16-server postgresql16-contrib postgresql16expand_for_screenshot_reference

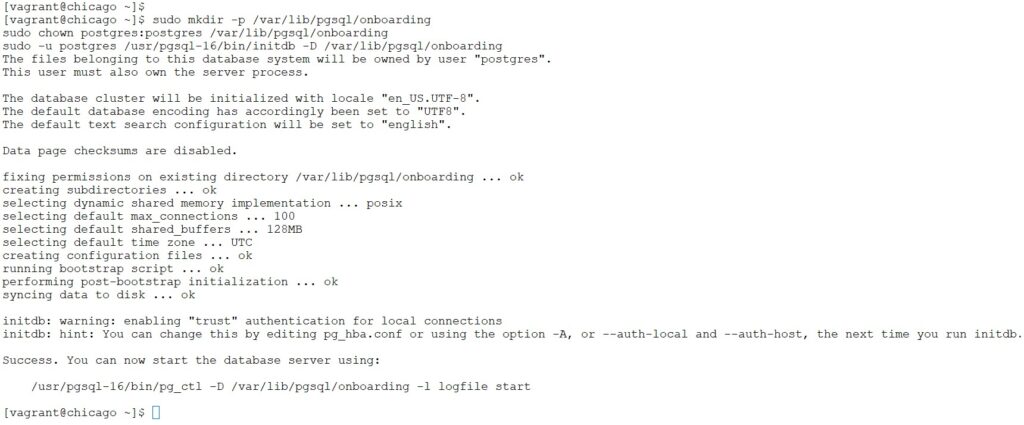
2.1.5 Initialize the database cluster
execute this command only in chicago server (our primary database server)
In Chicago server. we will create a cluster database named as “onboarding“
sudo mkdir -p /var/lib/pgsql/onboarding
sudo chown postgres:postgres /var/lib/pgsql/onboarding
sudo -u postgres /usr/pgsql-16/bin/initdb -D /var/lib/pgsql/onboardingexpand_for_screenshot_reference
2.1.6 edit the service file
To manage our new onboarding cluster independently, we need to create a dedicated service file.
This allows us to start, stop, and enable the specific instance without affecting other PostgreSQL services on the same host.
Copy the Default Service:
We copy the standard PostgreSQL service file to a new name (postgresql-onboarding.service) to act as our template.
sudo cp /usr/lib/systemd/system/postgresql-16.service /etc/systemd/system/postgresql-onboarding.serviceUpdate the Description:
Modifying the Description line helps us easily identify this specific cluster when running systemctl status.
Set the Data Path:
Updating the Environment=PGDATA variable ensures that the service points exactly to our new /var/lib/pgsql/onboarding directory.
# Update the Description line
sudo sed -i 's|^Description=.*|Description=PostgreSQL 16 database server (onboarding)|' /etc/systemd/system/postgresql-onboarding.service

# Update the PGDATA path
sudo sed -i 's|^Environment=PGDATA=.*|Environment=PGDATA=/var/lib/pgsql/onboarding|' /etc/systemd/system/postgresql-onboarding.serviceexpand_for_screenshot_reference

2.1.7 Opening the Firewall for Remote Access
2.1.7 Opening the Firewall for Remote Access
To ensure your database cluster is reachable by remote clients or backup servers, you must configure the system firewall to permit incoming traffic.
Important Security Note: The following commands are intended only for a controlled sandbox environment. In a production setting, you should never allow the general postgresql service; instead, use rich rules to restrict traffic specifically to the IP addresses of your application or standby servers
execute on both chicago and boston
# Allow PostgreSQL traffic
sudo systemctl start firewalld
sudo systemctl enable firewalld
sudo firewall-cmd --permanent --add-service=postgresql

# Reload the firewall to apply changes
sudo firewall-cmd --reloadscreenshot

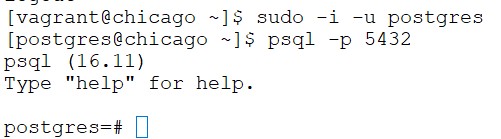
2.1.8 Login to database
Now that the service is running, we will switch to the system’s postgres user and access the database using the psql utility.
sudo -i -u postgres
psql -p 5432 screenshot
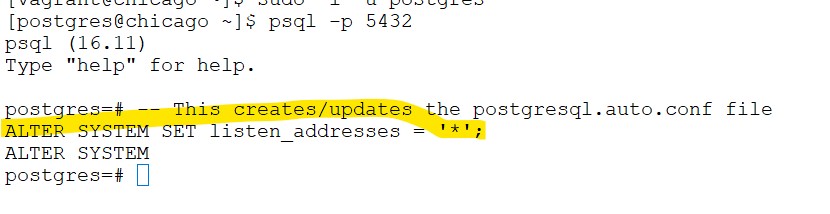
in Chicago host: Inside the psql prompt, execute the command. to allow remote hosts to connect to
-- This creates/updates the postgresql.auto.conf file
ALTER SYSTEM SET listen_addresses = '*';screenshot
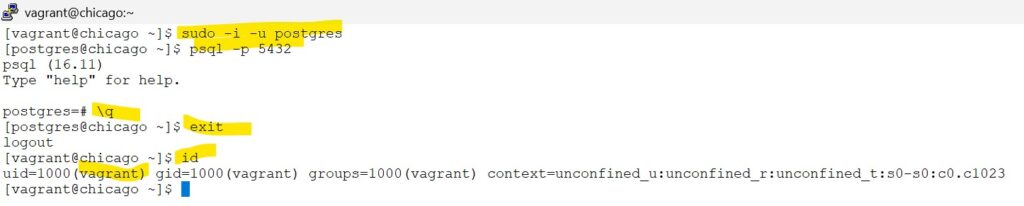
After running this, your will still need to restart the service:
exit from the database prompt of psql by typing — \q
exit from postgresql account by typing — exit
so now you are as Vagrant user
screenshot
2.1.9 reload configuration
execute on chicago only
Reload Configurations:
Running daemon-reload ensures the system recognizes the manual changes we made to the service unit file.
# Reload the systemd manager configuration
sudo systemctl daemon-reload

# Start the service manually (one-time)
sudo systemctl start postgresql-onboarding

# Verify it is running
sudo systemctl status postgresql-onboardingscreenshot
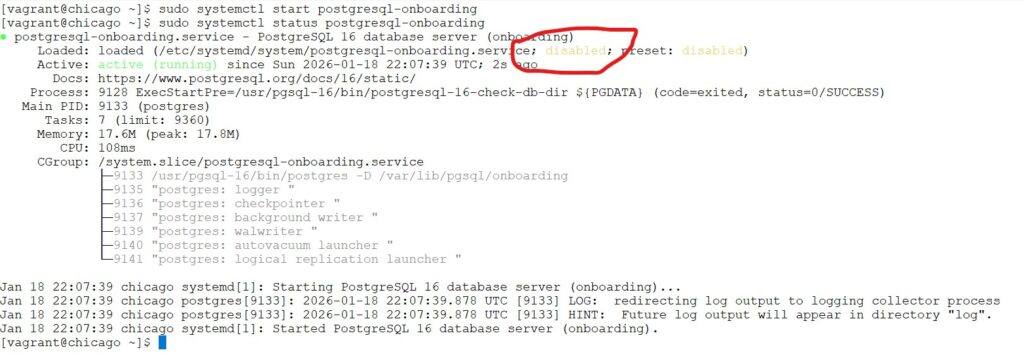
Important Note: While we have created the service file, we are intentionally not enabling it to start automatically on boot.
reason: in future we will enable repmgrd daemon, and if standby server is started first, then it becomes the primary and later we may face split brain syndrome.
2.1.10 edit pg_hba.conf
The pg_hba.conf file is where we define which specific computers are allowed to connect to our database.
By adding the host line, we permit all servers on our local 192.168.1.0/24 network to attempt a login.
We use the md5 method to ensure that every connection must be authenticated with a secure password.
sudo vi /var/lib/pgsql/onboarding/pg_hba.confadd this line in the end of the file
host all all 192.168.56.0/24 md5screenshot

Congratulations, You have successfully configured your primary database on chicago host.